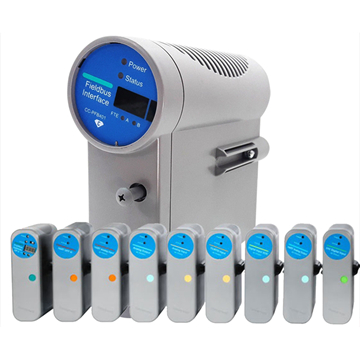
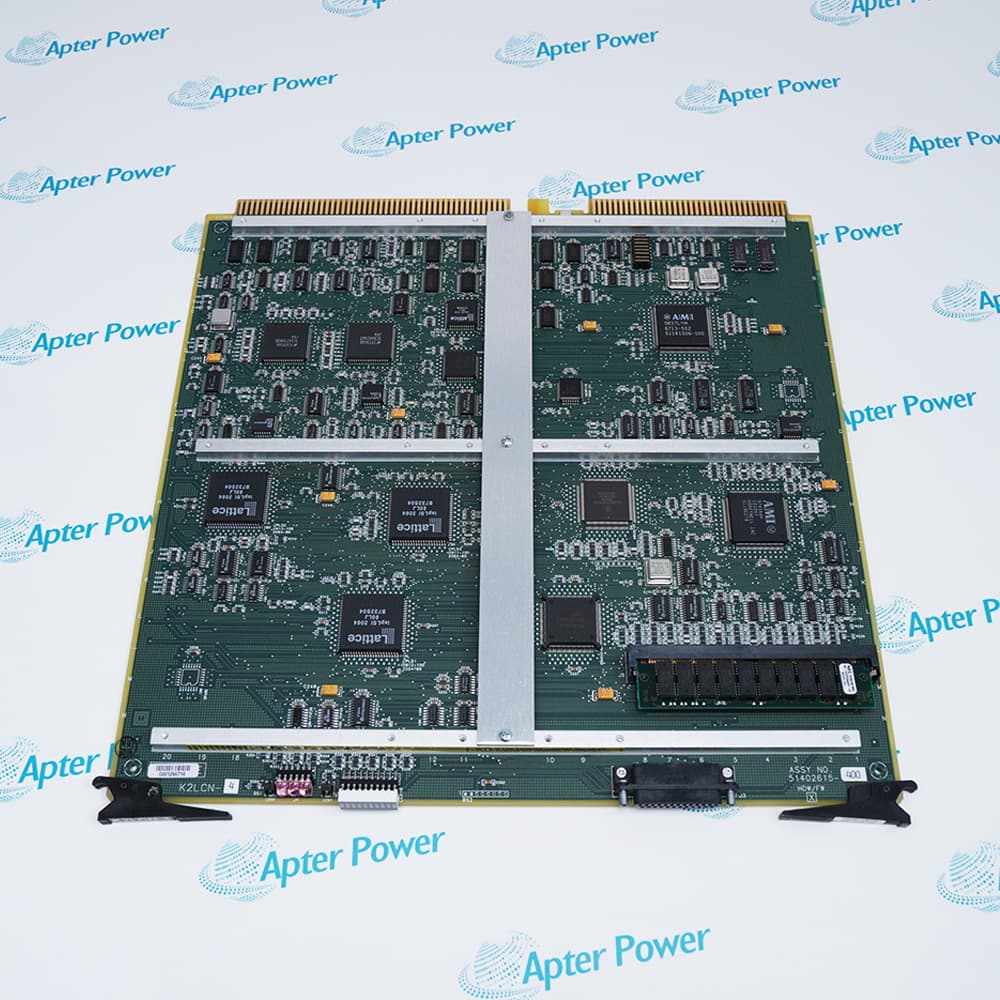
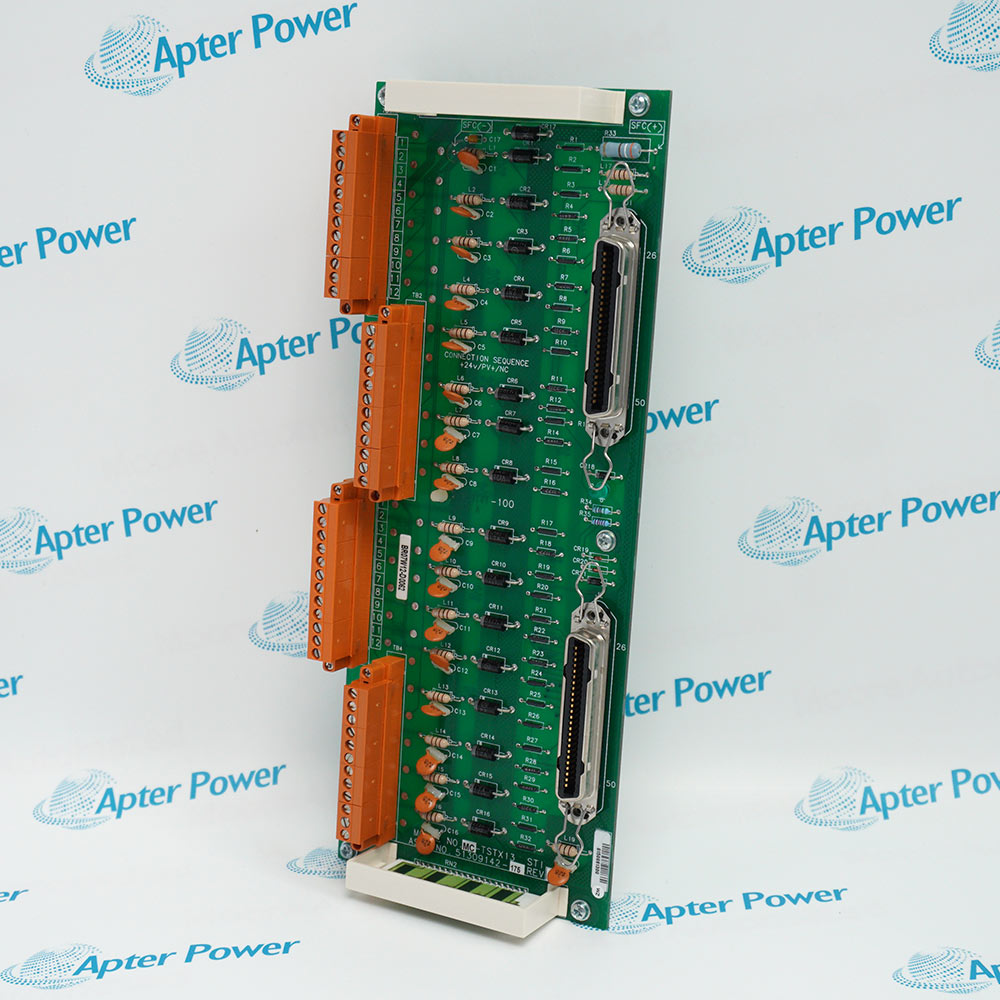
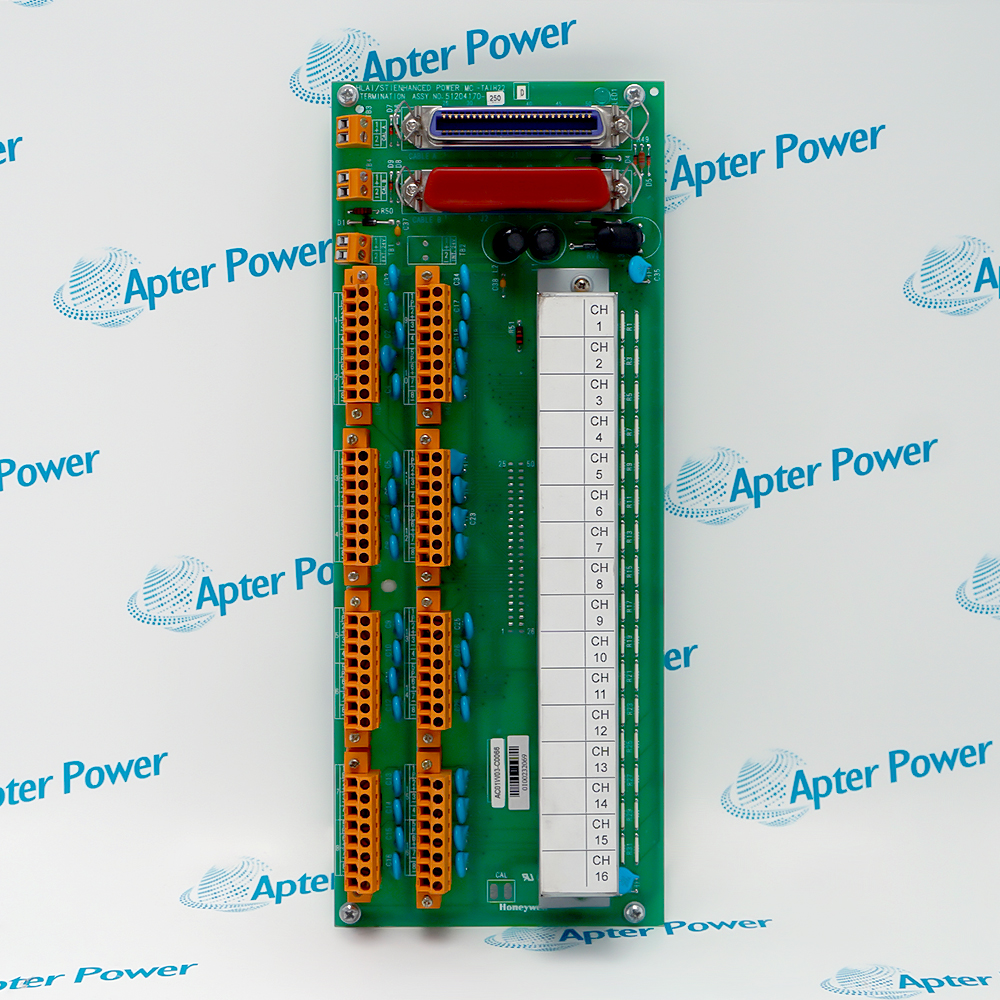
Honeywell CC-TAIX11 is the redundant analog-input IOTA for the documented Series-C high-level analog-input module family.
- Redundant IOTA construction
- Dedicated field-termination interface
- Carrier-mounted Series-C service point
- Analog-input loop organization
Use CC-TAIX11 with the listed Series-C analog-input module and the approved carrier, terminal hardware and field-loop drawings for the installed unit.
Important Notice: Match the IOTA, companion I/O module, carrier position, terminal wiring, grounding and redundancy configuration before replacement.
Apter Power CC-TAIX11 Manuals and Guides
Important Notice: These are two distinct Apter Power documents: the first is a product technical reference, while the second supports installation planning, application review and commissioning verification.
CC-TAIX11 Installed-base maintenance
Like-for-like service of the documented redundant analog-input termination hardware.
CC-TAIX11 Compatibility review
Comparison of carrier hardware, I/O module, field wiring and redundancy configuration before replacement.
CC-TAIX11 Installation planning
Preparation of terminal, grounding and analog-loop checks before field work.
CC-TAIX11 Commissioning
Controlled verification of loop wiring, channel assignment, diagnostics and process response.
Read the applicable Honeywell installation instructions before work. Verify CC-TAIX11 and the installed-system configuration.
1
Verify CC-TAIX11 and the complete part number on the physical nameplate before installation.
2
Confirm the installed Series-C carrier and analog-input module support the required redundancy arrangement.
3
Isolate applicable power and field energy before removing or installing CC-TAIX11.
4
Use ESD controls and protect carrier connectors, terminals and the IOTA assembly.
5
Record existing field wiring, grounding and redundancy configuration before replacement.
6
Do not transfer wiring or channel assignments from an unrelated Honeywell IOTA.
7
Dress and identify field wiring to the applicable cabinet and terminal instructions.
8
After installation, test input diagnostics, redundancy status and intended process response.


 Videos
 News
News Applications