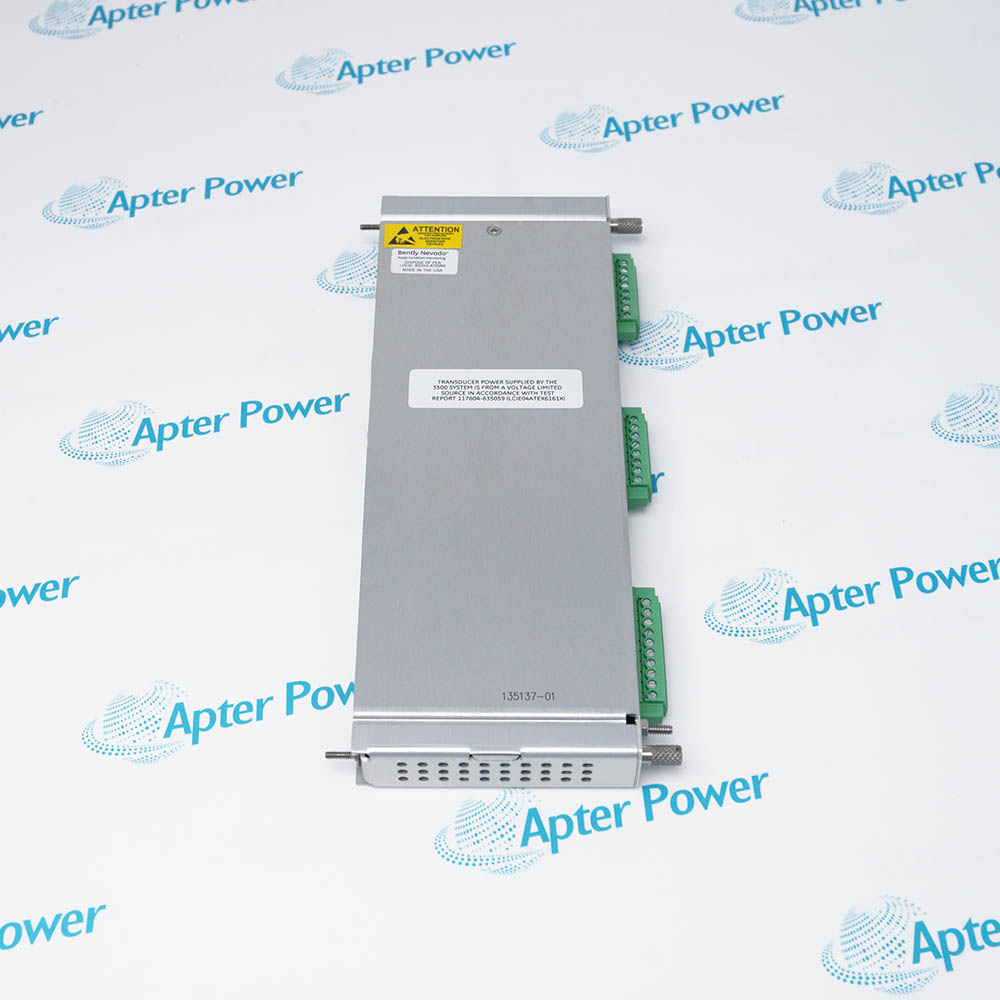
The 135826-01 is a Bently Nevada standard mounting stud with a male 1/4-28 UNF sensor thread at one end and a male M10 x 1 machine-mounting thread at the other. It is listed as a mounting accessory for the 177230 seismic transmitter and provides the threaded mechanical interface between the sensor base and a prepared machine surface.
- Male 1/4-28 UNF
- Male M10 x 1
- None; mechanical accessory only
- 177230 seismic transmitter accessory table
The stud does not measure or process an electrical signal. Its function is to create a rigid, repeatable mechanical vibration path from the bearing housing or machine casing into a compatible seismic sensor so that the sensor can accurately convert casing motion into its electrical output. For dependable operation, follow the official system-matching, mounting, wiring, environmental, and approval instructions.
Important Notice: This part is a mechanical vibration-transfer interface, not a sensing element. Confirm 1/4-28 UNF and M10 x 1 threads, surface flatness, engagement, and sensor-specific torque before installation.
Apter Power 135826-01 Manuals and Guides
Important Notice: These are two separate Apter Power documents prepared from the official Bently Nevada source named in each document. Confirm the physical nameplate, current manufacturer documentation, and applicable installation drawing before installation or replacement.
177230 Seismic Transmitter
Adapts the transmitter's 1/4-28 base to M10 x 1 machine threads.
Bearing Housings
Provides a permanent threaded velocity or vibration mounting point.
Pump and Motor Casings
Supports rigid sensor attachment for casing-vibration measurement.
Compressor Frames
Transfers structural vibration into the installed sensor.
Turbine Auxiliary Equipment
Supports permanent sensor mounting on suitable machine surfaces.
Replacement Mounting Hardware
Restores the specified thread adapter when the original stud is missing or damaged.
Read and follow the official manufacturer source and applicable installation instructions before use. Verify the exact complete ordering code from the physical nameplate.
1
Verify the complete 135826-01 part number and both thread sizes before installation.
2
Inspect both male threads and the sensor/machine female threads for damage, galling, contamination, and full engagement.
3
Prepare a rigid, flat mounting surface so the sensor base seats completely without rocking.
4
Apply only the torque and thread treatment specified by the sensor and machine instructions; the accessory table does not publish a separate stud torque.
5
Do not use the stud as an electrical ground path or as a substitute for the required cable shield and bonding practice.


 Videos
 News
News Applications